


How to Replace a Catalytic Converter: 15 Detailed Steps
Replacing a catalytic converter is a necessary task when the existing one becomes damaged, worn out, or fails to meet emission standards. While it may seem like a daunting task, with the right tools and knowledge, it can be accomplished successfully. In this article, we will provide a step-by-step guide on how to replace a catalytic converter.

Understanding Catalytic Converters
A catalytic converter consists of a ceramic or metal substrate coated with catalysts such as platinum, palladium, and rhodium. The catalysts promote chemical reactions that convert toxic gases like carbon monoxide, nitrogen oxides, and hydrocarbons into carbon dioxide, nitrogen, and water. This process helps to significantly reduce air pollution and protect the environment.
The catalysts inside the converter facilitate two main reactions: reduction and oxidation. Reduction involves the conversion of nitrogen oxides into nitrogen and oxygen, while oxidation converts carbon monoxide and hydrocarbons into carbon dioxide and water vapor. These reactions take place at usually in high temperatures between 200°C and 400°C.
Signs of Bad Catalytic Converter
Check Engine Light: A malfunctioning catalytic converter can trigger the check engine light on your vehicle's dashboard. This warning light indicates that the onboard diagnostic system has detected a problem with the emissions control system, which includes the catalytic converter.
Decreased Engine Performance: A failing catalytic converter can cause a noticeable decrease in engine performance. You may experience reduced power, sluggish acceleration, or difficulty maintaining speed.
Poor Fuel Efficiency: A clogged or damaged catalytic converter can restrict the exhaust flow, leading to decreased fuel efficiency. If you find yourself refueling more frequently despite driving under normal conditions, it could be a sign of a faulty converter.
Rattling or Metallic Noise: A loose or broken catalytic converter can produce rattling or metallic noises. This typically occurs when the internal components of the converter become damaged or dislodged.
Strong Rotten Egg Smell: A sulfur-like odor, often described as a rotten egg smell, can indicate a failing catalytic converter. This smell is caused by the converter's inability to convert hydrogen sulfide in the exhaust gases into odorless compounds.
Failed Emissions Test: During an emissions test, a malfunctioning catalytic converter will likely cause your vehicle to fail the test. If the converter is not effectively reducing harmful emissions, it may need to be replaced.
Safety Precautions
This intermediate-level task typically takes around 2-3 hours to complete. Before starting any work, ensure that the vehicle is parked on a flat surface and the engine is cool. Put on safety goggles, gloves, and protective clothing to prevent injuries. Additionally, make sure to comply with local regulations regarding the disposal of the old catalytic converter. Replacing a catalytic converter requires a certain level of mechanical know-how and preparation. Selecting the right catalytic converter is crucial; options include CARB-compliant or EPA-compliant catalytic converters depending on your region's emissions standards.
Gather the Required Tools and Materials:
To replace a catalytic converter, you will need the following tools and materials:
- New catalytic converter
- Wrenches and sockets
- Jack stands and hydraulic jack
- Penetrating oil
- Exhaust hangers or clamps (if necessary)
- Safety glasses and gloves
- O2 sensor socket (if applicable)
Step 1: Raise the Vehicle:
Using a hydraulic jack, lift the vehicle until you have enough clearance to work comfortably underneath. Place jack stands securely under the vehicle for added stability.
Step 2: Locate the Catalytic Converter
Identify the position of the catalytic converter in your vehicle. Typically, it is situated underneath the vehicle, between the exhaust manifold and the muffler. The catalytic converter appears as a metal canister with pipes connected to it.
Step 3: Prepare the Vehicle
If required, use a jack to raise the vehicle and secure it with jack stands. Ensure there is enough space to comfortably work beneath the vehicle.
Step 4: Disconnect the Battery
To prevent electrical accidents, disconnect the negative terminal of the battery. This step ensures your safety during the replacement process.
Step 5: Remove the Heat Shield
If your catalytic converter has a heat shield, remove it carefully using a wrench or socket set. This will provide better access to the converter for removal.
Step 6: Loosen the Connections
Apply penetrating oil to loosen the bolts and clamps connecting the catalytic converter to the exhaust pipes. Allow the oil to penetrate for a few minutes before attempting to loosen them. Use appropriate tools such as a wrench or socket set to loosen the connections effectively.
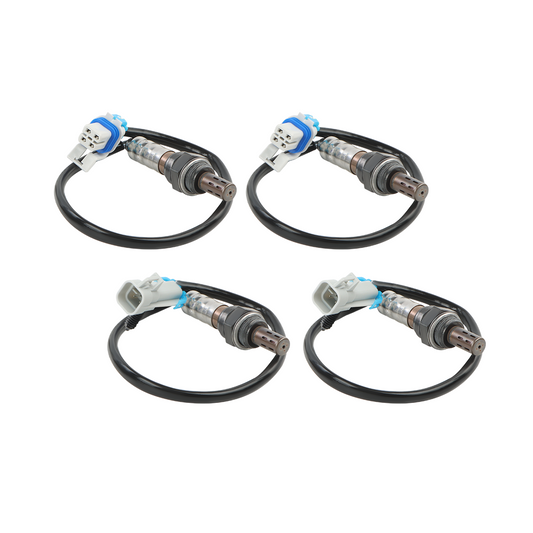
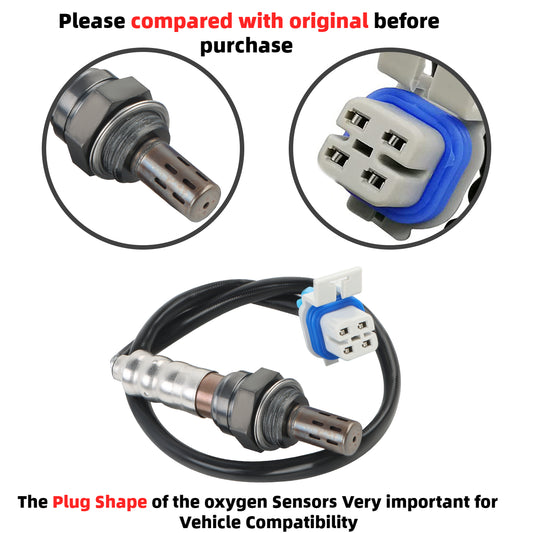
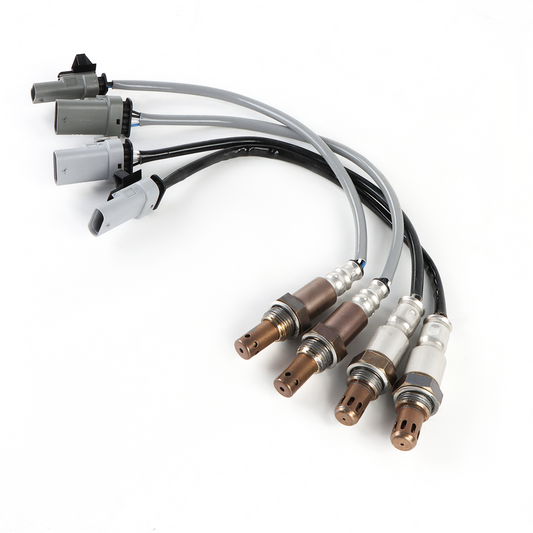
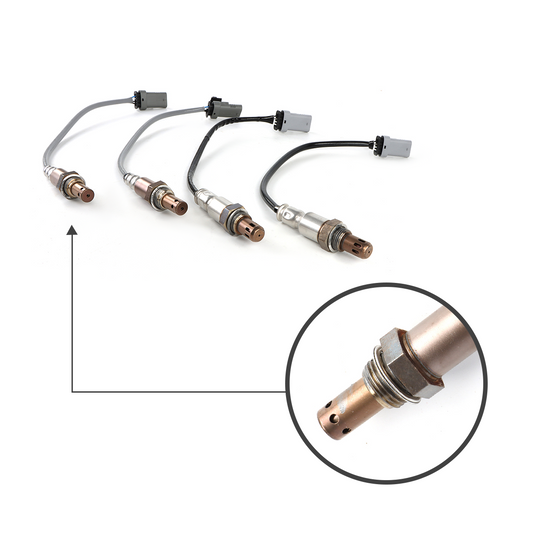
Step 7: Disconnect Oxygen Sensors
Modern vehicles are equipped with oxygen sensors attached to the catalytic converter. Unplug the sensor connectors and remove the sensors using the appropriate wrench or socket.
Step 8: Support the Exhaust System
To prevent the exhaust system from falling when the converter is removed, use a jack or support stand to hold it up near the catalytic converter. This step ensures stability and safety during the replacement process.
Step 9: Remove the Old Catalytic Converter
Carefully unbolt the connections holding the catalytic converter in place. Gently slide out the old converter from the exhaust system, taking care not to damage any surrounding components.
Step 10: Install the New Catalytic Converter
Position the new catalytic converter in place and secure it by tightening the bolts and clamps. Ensure proper alignment and fitment to guarantee optimal performance.
Step 11: Reconnect Oxygen Sensors
Attach the oxygen sensors to the new catalytic converter using the appropriate wrench or socket. Plug in the sensor connectors securely, ensuring a tight connection.
Step 12: Reinstall the Heat Shield
If your vehicle has a heat shield, reattach it using the necessary tools. The heat shield provides protection and helps maintain proper operating temperatures.
Step 13: Lower the Vehicle
Carefully lower the vehicle from the jack stands using a jack, ensuring it is stable and secure on the ground. Double-check that all connections are properly tightened and secured.
Step 14: Reconnect the Battery
Reconnect the negative terminal of the battery, ensuring a tight connection. This step restores power to the vehicle's electrical systems.
Step 15: Test the System
Start the engine and listen for any unusual noises or leaks. Take a short test drive to ensure the new catalytic converter is functioning correctly. Monitor the vehicle's performance and emissions to verify the successful replacement.
Conclusion:
Replacing a catalytic converter may seem like a complex task, but by following these step-by-step instructions and taking necessary safety precautions, you can successfully replace a worn-out or damaged catalytic converter. However, if you are unsure or uncomfortable performing this task, it is recommended to seek professional assistance from a qualified mechanic to ensure proper installation and compliance with local regulations.
The content contained in this article is for informational purposes only and should not be used in lieu of seeking professional advice from a certified technician or mechanic. We encourage you to consult with a certified technician or mechanic if you have specific questions or concerns relating to any of the topics covered herein. Under no circumstances will we be liable for any loss or damage caused by your reliance on any content.